
ou can create Tasks or Events that can be assigned to other Amberlo users. There are several ways to create a new Task or Event:
1. Clicking and Dragging on the Calendar page:
- Click in the starting date/time in your calendar and drag down to the end time, then release your mouse. Now a new Calendar Entry form will appear.
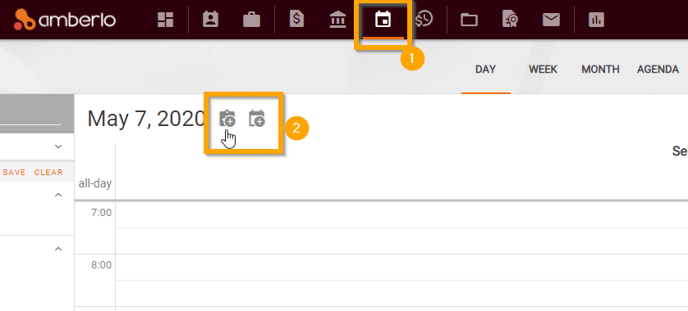
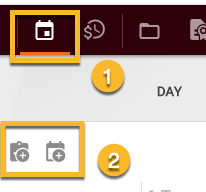
2. The Add task and Add event buttons (2) on the Calendar tab (1):
- You can click on the Add task or Add event buttons to add a new appointment. When you click on the button, a new Calendar Entry form appears, and you can enter the details of the appointment. You will have to manually determine the date and time if you choose this option.
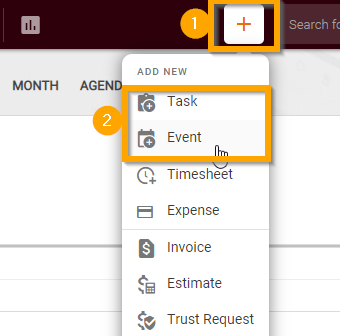
3. The Quick Add button:
- From any page in Amberlo, click the Quick Add button (1), and then select Task or Event (2) to create a new Calendar entry:
More about the Quick Add button read here.
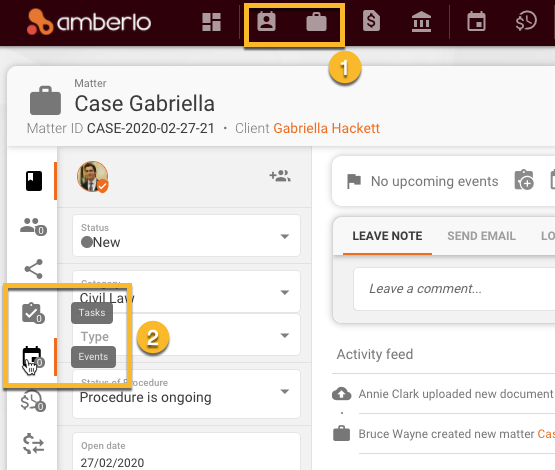
4. The Contact or Matter tabs (1) for the specific Contact or Matter you wish to associate the event to:
- Select the Task or Event sub-tab (2)
Creating Calendar Event or Task
- Navigate to the Planning tab (1) (or choose any other way to create a task or event) and click Add Event or Add Task (2)
Amberlo will then display a Create task window. Fill out all of the required information, along with any additional information you have:
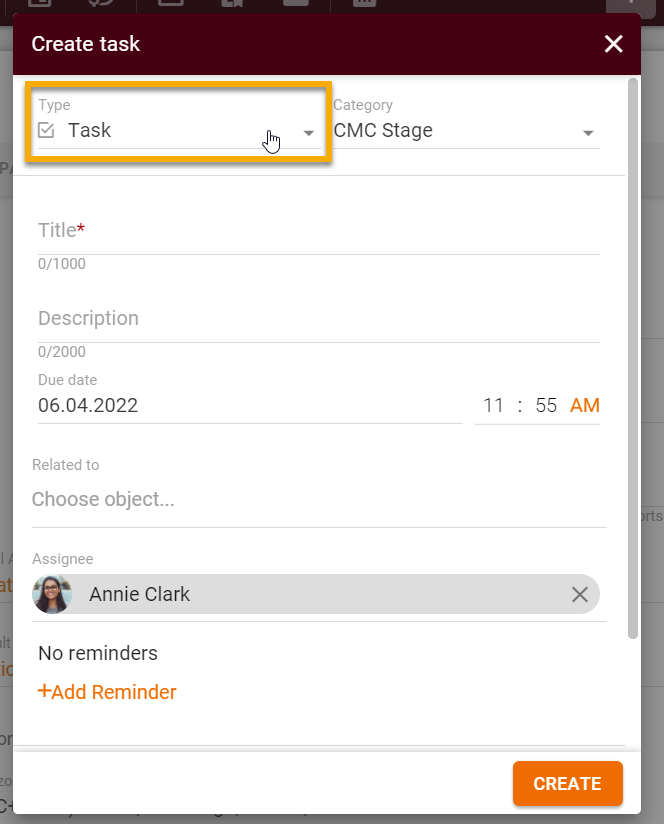
- Enter a task Title.
- Enter Description.
- Include any other relevant information in the available fields
- Click Create, and the Task will show in your Calendar.
What does each field in the Create Task popup do?
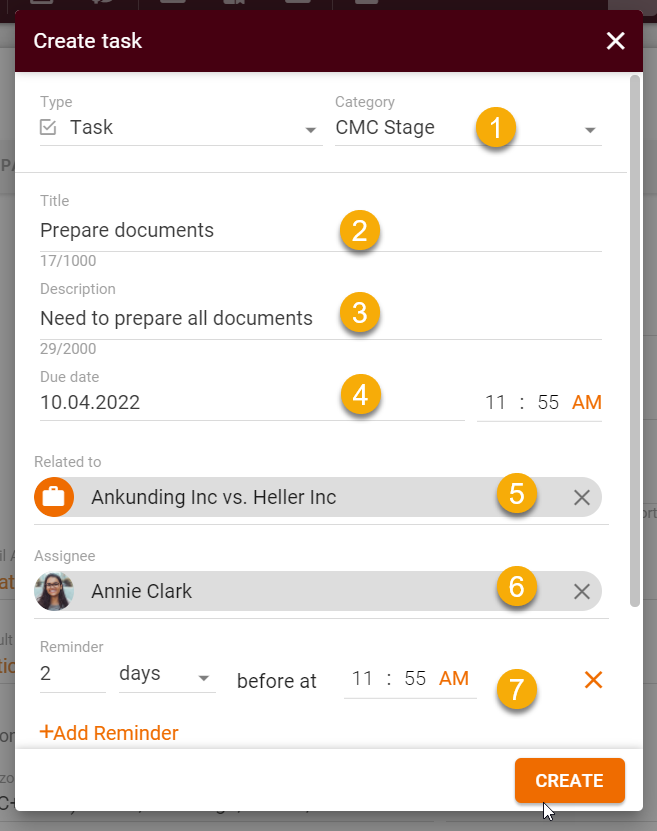
Create task Form:
- Category: Select the appropriate category for the Task.
- Title: Enter the name/description of the Task.
- Description: Enter the description of the Task.
- Due date: Select a due date.
- Related to: This field is there so you could link the task to the applicable matter or contact. It is suggested wherever possible that you link tasks to the correct matter/contact to use Amberlo to its fullest extent.
- Assignee: Select the user who should complete the Task.
- Reminder: Set a reminders date and time, and reminders will reach you at a specified time:
What does each field in the Create Event popup do?
Create event Form:
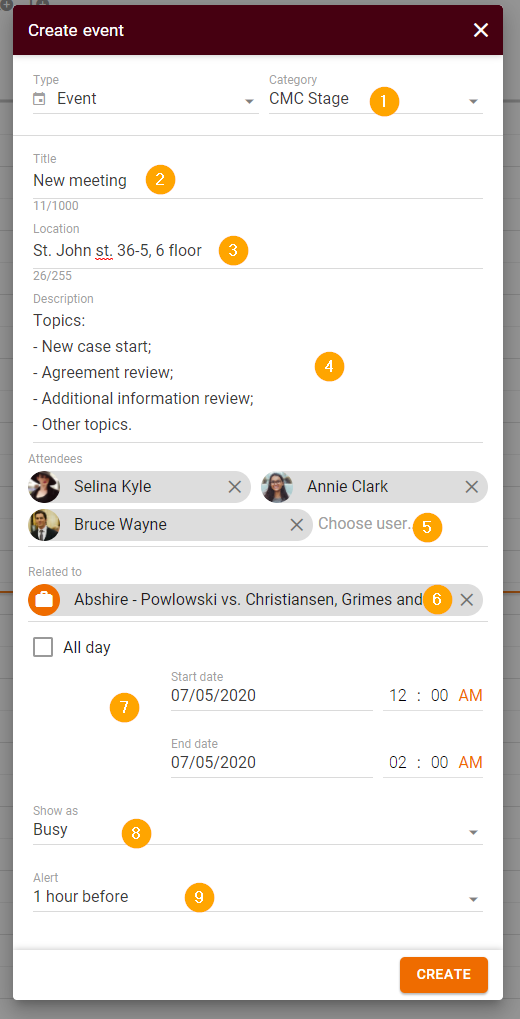
Event Details
- Category: Select the appropriate category for the task.
- Title: Enter the name/description of the appointment.
- Location: Use this field to enter where the event is taking place.
- Description: The description field can be used as you see fit to note important details of the event.
- Attendees: You can invite other members of your firm to an event. They will receive an email invitation, and the event will appear in their respective calendars. To link them to the event, start to type in their name in this field and choose it from the drop-down.
- Related to: This field is there so you could link the event to the applicable matter or contact. It is suggested, wherever possible, that you link events to the correct matter/contact to use Amberlo to its fullest extent.
- Start and End Dates/Times: Choose the date and time of the event. You can also select here if you want the event to be all day.
- Show as: If you want, you can change what others can see about certain events. Just select the appropriate status for the event: Busy or Free.
- Reminder: Set reminders to any of your attendees, and an email or a popup reminder will be sent.
We hope this will help you to start using it smoothly. If you have any questions or feedback, please feel free to contact us via support@amberlo.io. We are always happy to hear from you!