
The user can set the price ranges for the exact amount of logged time, and software will help the user to bill logged timesheets with the exact pricing for selected timesheets.
Note: The Volume-based Budget is available to use only for Matters and not for Contacts.
The budgeting feature is available only for Premium plan subscriptions.
1. How to Set Volume-based Budget?
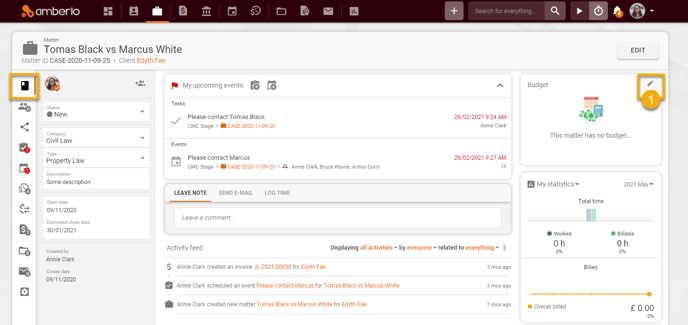
1. Navigate to the Matter you'd like to apply the budget for and select the Main information tab. Click the ![]() in the Budget widget:
in the Budget widget:
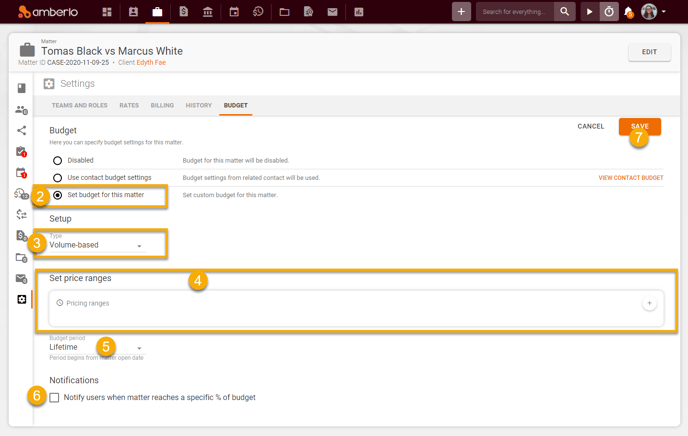
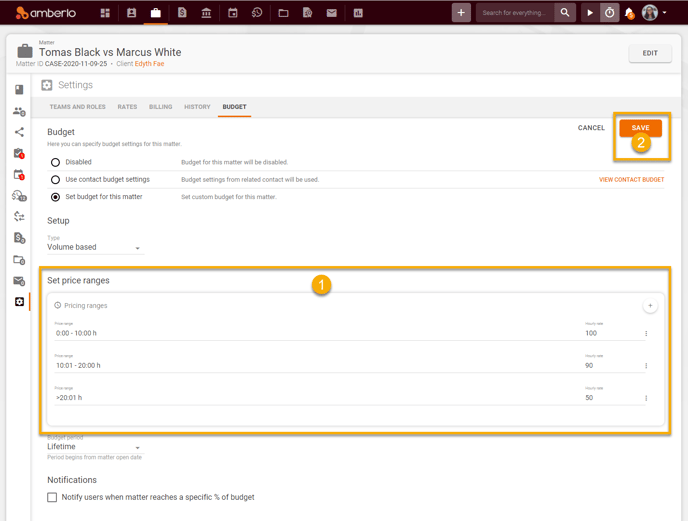
The system will navigate to the Matter Budget Settings:
2. Mark the checkbox Set budget for this matter.
3. Select the Type - Volume-based.
4. Click the + button and add Pricing ranges.
5. Select the Budget Period - Lifetime or Monthly.
6. Mark (or not mark) the checkbox Notify users when matter reaches selected amount of budget.
7. Click the button Save to save your changes:
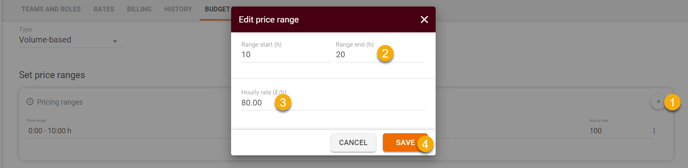
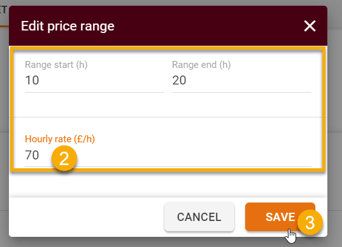
1.1. How to add the Price range?
- Click the button +.
- Enter Range end.
- Enter Hourly rate.
- Click the button Save:
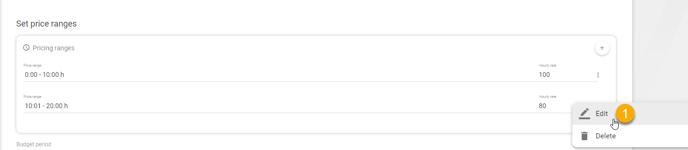
1.2. How to Edit Price range?
- Click the three-dots button next to the selected Price range and click the Edit button.
- Do changes in the Edit pricing range window.
- Click the button Save:
1.3. How to Remove Price range?
- Click the three-dots button next to the selected Price range and click the Edit button.
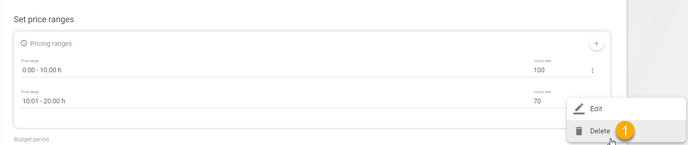
Note: Don't forget to click the button Save after adding, editing, or removing Pricing ranges:
2. How to use a Volume-based budget?
Once the Volume-based budget is set and Pricing ranges are created, you can start using the Volume-based budget:
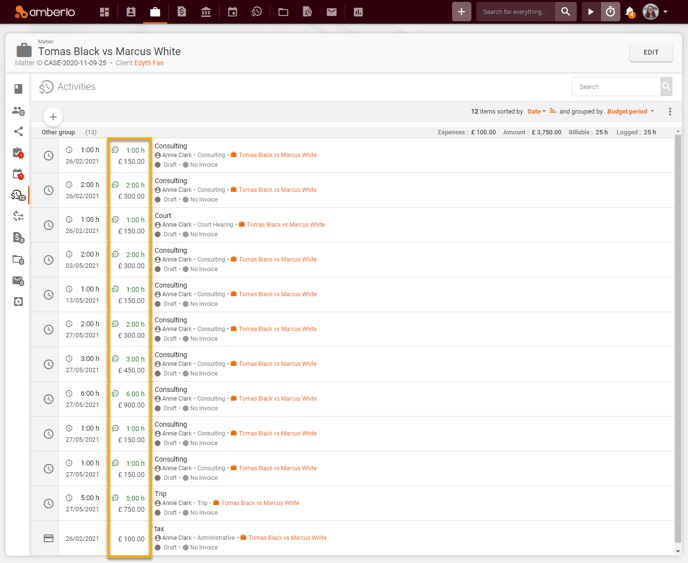
1. Create Timesheets. Timesheets are created in the usual way. When creating timesheets, you will see the general company rates (or Matter/Contact rates if they are set) (1) and the budget line divided according to Price ranges (2):
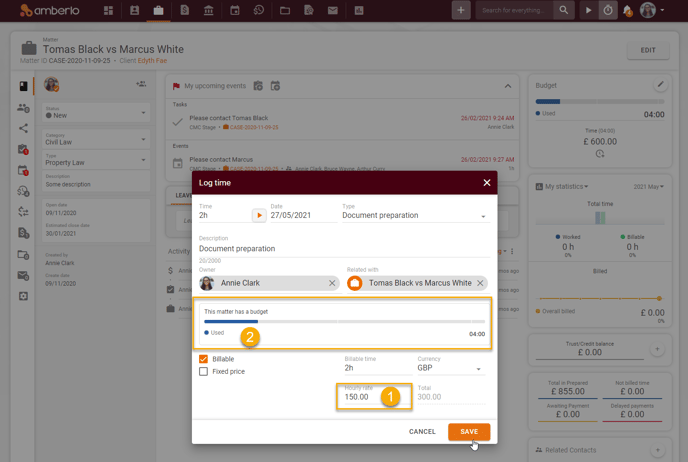
All created timesheets will be saved and displayed in general company rates (or Matter/Contact rates if they are set) until they are not included in the invoice and the invoice becomes status approved:
Note: Rates will be changed according to the Budget settings after timesheets will be included to invoice and invoice gets status Approved.
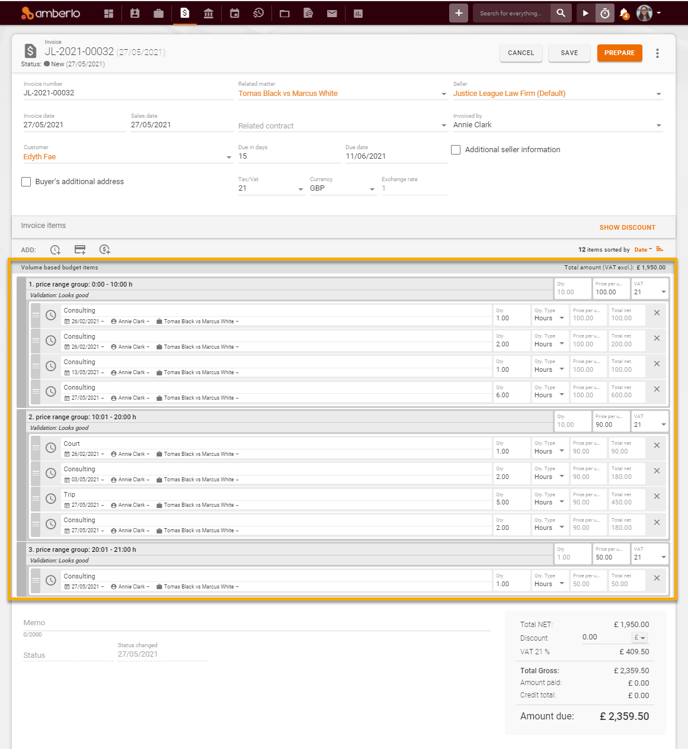
2. Add Timesheets to the invoice. When you will create an invoice, the system will automatically distribute the timesheets into price ranges groups regarding the Timesheet dates and the number of hours:
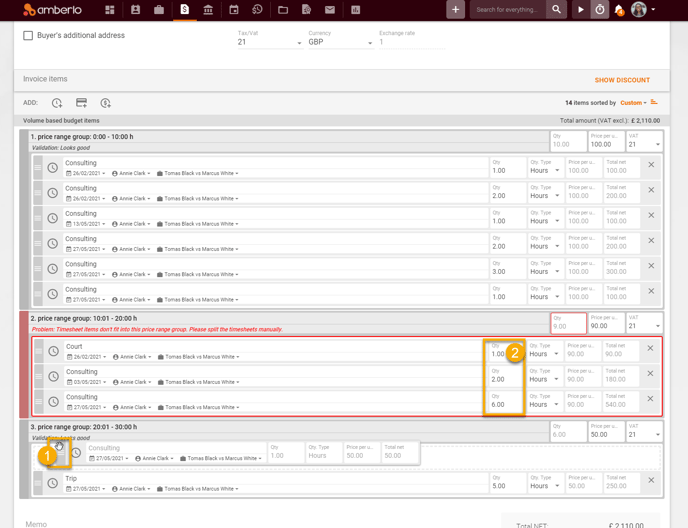
If timesheets exceed or do not fill the number of hours in the group, the group becomes marked red. In such case you have manually to drag and drop the timesheet to the other group (1) or change the hours' quantity (2):
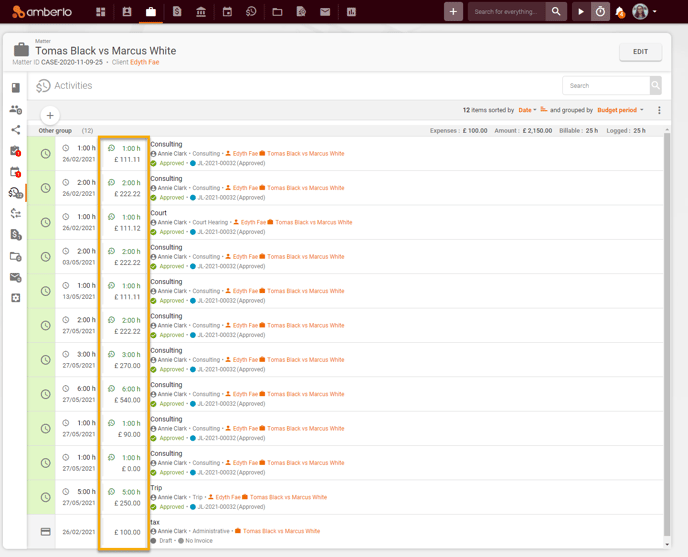
After approving an invoice all timesheets rates will be changed and amounts are recalculated according to the Prices ranges, set in Matter settings:
For more information on how to enable Budget, click here.
We hope this will help you to start using it smoothly. If you have any questions or feedback, please feel free to contact us via support@amberlo.io. We are always happy to hear from you!